How To Install Jkd 9 For Mac
Install whatever version you want with cask brew cask install java8 (or java7 or java if you want to install the latest version, jdk9) The last step is to configure which version to run (and let jenv to manage your JAVAHOME) jenv versions to list all versions installed on your machine and then activate the one you want with jenv global JDK. JDK 9 Releases. JDK 9 has been superseded. Please visit jdk.java.net for the current version. Older releases, which do not include the most up to date security.
This topic includes the following sections:
System Requirements for Installing the JDK on macOS
The following are the system requirements for installing the JDK on macOS:
Any Intel-based computer running macOS.
Administrator privileges.
You cannot install Java for a single user. Installing the JDK on macOS is performed on a systemwide basis for all users. Administrator privileges are required to install the JDK on macOS.
Determining the Default JDK Version on macOS
When starting a Java application through the command line, the system uses the default JDK.
You can determine which version of the JDK is the default by entering java -version in a Terminal window. If the installed version is 11 Interim 0, Update 0, and Patch 0, then you see a string that includes the text 11. For example:
To run a different version of Java, either specify the full path, or use the java_home tool. For example:
$ /usr/libexec/java_home -v 11 --exec javac -version
Installing the JDK on macOS
- Download the JDK
.dmgfile,jdk-11.interim.update.patch-macosx-x64.dmg.Before the file can be downloaded, you must accept the license agreement.
- From either the browser Downloads window or from the file browser, double-click the
.dmgfile to start it.A Finder window appears that contains an icon of an open box and the name of the.pkgfile. - Double-click the
JDK 11.pkgicon to start the installation application.The installation application displays the Introduction window. - Click Continue.
- Click Install. A window appears that displays the message: Installer is trying to install new software. Enter your password to allow this.
- Enter the Administrator user name and password and click Install Software.The software is installed and a confirmation window is displayed.
.dmg file if you want to save disk space. Uninstalling the JDK on macOS
You must have Administrator privileges.Note:
Do not attempt to uninstall Java by removing the Java tools from /usr/bin. This directory is part of the system software and any changes will be reset by Apple the next time that you perform an update of the OS.
- Go to
/Library/Java/JavaVirtualMachines. - Remove the directory whose name matches the following format by executing the
rmcommand as a root user or by using thesudotool:/Library/Java/JavaVirtualMachines/jdk-interim.update.patch.jdkFor example, to uninstall 11 Interim 0 Update 0 Patch 0:
$ rm -rf jdk-11.jdk
Installation FAQ on macOS Platform
This topic provides answers for the following frequently asked questions about installing JDK on macOS computers.
1. How do I find out which version of Java is the system default?
When you run a Java application from the command line, it uses the default JDK. If you do not develop Java applications, then you do not need to worry about this. See Determining the Default JDK Version on macOS.
2. How do I uninstall Java?
See Uninstalling the JDK on macOS.
3. After installing Java for macOS 2012-006, can I continue to use Apple's Java 6 alongside the macOS JDK for Java 11?
If you want to continue to develop with Java 6 using command-line, then you can modify the startup script for your favorite command environment. For bash, use this:
$ export JAVA_HOME=`/usr/libexec/java_home -v 11`
Some applications use /usr/bin/java to call Java. After installing Java for macOS 2012-006, /usr/bin/java will find the newest JDK installed, and will use that for all of the Java-related command-line tools in /usr/bin. You may need to modify those applications to find Java 6, or contact the developer for a newer version of the application.
4. Can I restore Apple Java after uninstalling Oracle Java?
Go back to Apple Java using the following instructions:
Qsysopr break handling programming instructions. An example of a break-handling program is to have the program send a message, which is normally sent to the QSYSOPR queue, to another queue in place of or in addition to QSYSOPR. The following is an example of a user-defined program (again with only one procedure) to handle break messages.
Uninstall Oracle Java by deleting the plug-in file. From a command-line, enter:
$ sudo rm -rf '/Library/Internet Plug-Ins/JavaAppletPlugin.plugin'Create a symlink using the following command, entered on a single line:
$ sudo ln -s /System/Library/Java/Support/CoreDeploy.bundle/Contents/JavaAppletPlugin.plugin '/Library/Internet Plug-Ins/JavaAppletPlugin.plugin'
5. What happened to the Java Preferences app in Application Utilities?
The Java Preferences app was part of the Apple Java installation and is not used by Oracle Java. Therefore, macOS releases from Apple that do not include Apple Java will not include Java Preferences.
Introduction
Java is the most widely used general purpose, secured, robust, object-oriented language which was developed by Sun Microsystems in 1990. Java is portable which means it follows write once run anywhere paradigm. The latest version is java9 which was released on September 21,2017. In this tutorial, we will learn the installation process of Java on MacOS.
Prerequisites
- MacOS
- Login as an administrator in terminal
Installation
There are the following steps used to install Java on MacOS.
1) Download The latest version
We can visit the official website of oracle by simply pasting the link in the browser's search bar: http://www.oracle.com/technetwork/java/javase/downloads/jdk9-downloads-3848520.html and download the disk image file for MAC Operating System.
2) Mount the dmg file
The downloaded file is in .dmg format that is disk image file. On Mac Operating system, we can't install the dmg files by using installer command.
Installer command is used with the files that are in package format. To get the file in the desired format, we need to mount the file by using following command.
Hdiutil command is used with the option -mount to get the disk image file mounted. When we run this command, we'll get a mounted file with the same name but in the .pkg format. This file is located inside Volumes directory.
Panic: SwordMaster Level: 30Type: ActivePre-requisite: Combo Attack Lv.  Panic: AxeMaster Level: 30Type: ActivePre-requisite: Combo Attack Lv. Shield MasteryMaster Level: 20Type: PassiveDescription:Shield Defense increases. 1Description:Attack a single monster using dark powers. Combo AttackMaster Level: 30Type: ActiveDescription:You can charge the Combos and when the combos charge up, you can use the Finish Attack.
3) Install the Package
Installer command is used to install the package. This can be done as shown below.
This command is used with the target option which represents the location where the package is to be installed. In this case, we are installing the package in the root directory. To run the installer command, we must have the super user privileges. For that purpose, sudo is used which prompts the user to fill the admin password. The command installs brand new Java 9 on our MacOS.
4) Checking java version
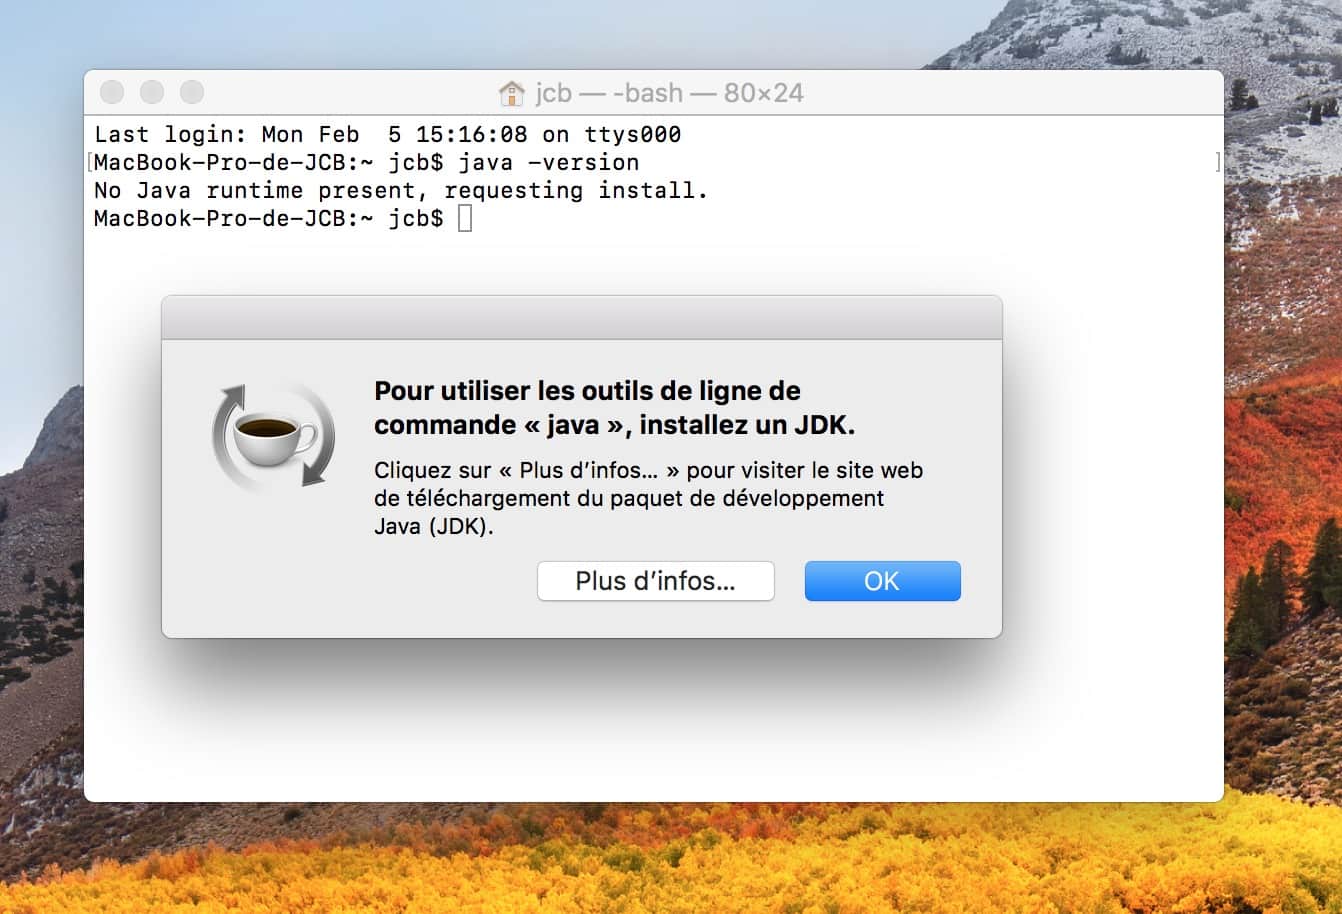
To confirm, whether java is installed on the computer or not, we may use the java -version command as shown below.
5) Unmount the Disk Image File
Hdiutil command with unmount option is used to unmount the disk image file. Unmounting frees the volume which was used to store the package when we were installing the package.
Now if we search for the pkg file in the Volumes directory then we are not going to find it.
Extra Info
To use the java complier, we can simply type javac in the terminal. To Execute the java files, we can use java tool by simply typing, java <file-name> .
This is how, we can use java on MacOS installing through terminal.